
DIY Toenail Fungus Treatment Oil
DIY Toenail Fungus Treatment Oil: Natural Solutions for Healthier Nails
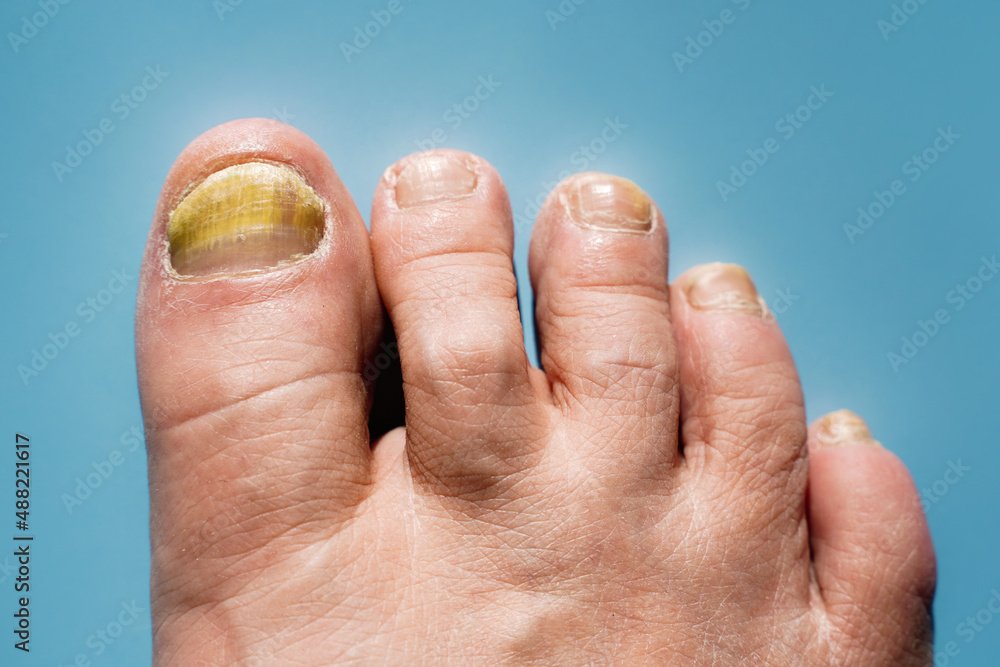
Are you struggling with toenail fungus and looking for a natural remedy? Essential oils might be the solution you need. Packed with antifungal properties, these oils can help you combat toenail fungus effectively. In this article, we'll guide you through making your own Toenail Fungus Treatment Oil, ensuring your nails stay healthy and strong.
What This Recipe is Good For
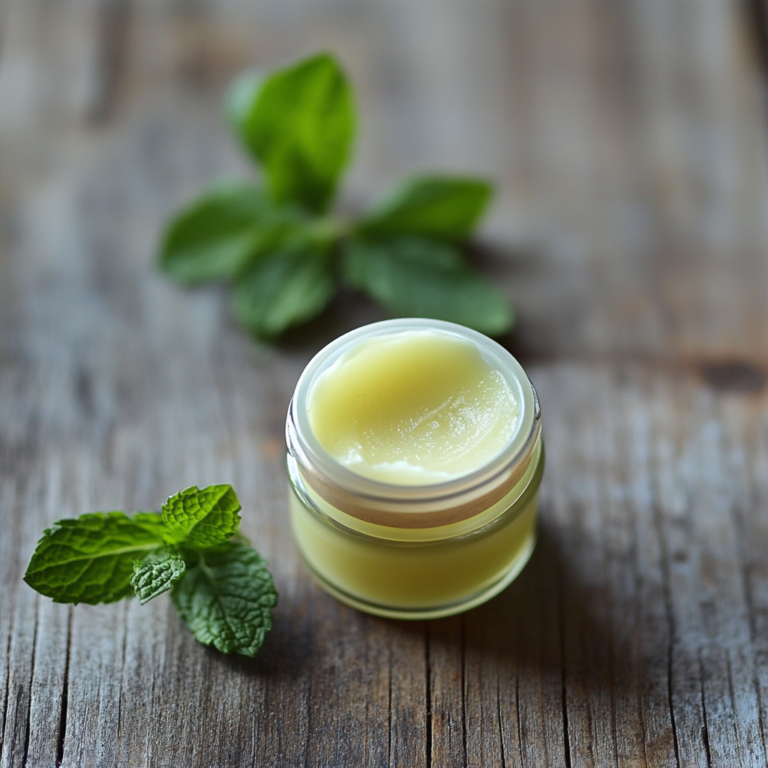
- Antifungal Properties: Essential oils like tea tree and peppermint are known for their antifungal abilities.
- Natural Healing: Provides a natural alternative to chemical treatments.
- Ease of Use: Simple application process.
Shopping List
Here's everything you need to make approximately 10 bottles of Toenail Fungus Treatment Oil (1 oz each):
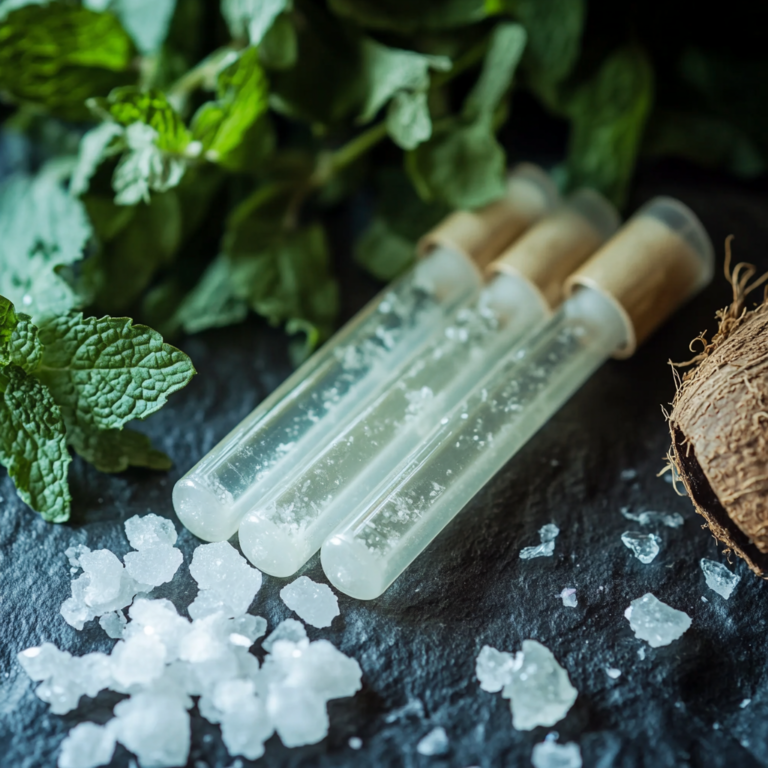
- Tea Tree Essential Oil (1 oz)
- Peppermint Essential Oil (1 oz)
- Eucalyptus Essential Oil (1 oz)
- Carrier Oil (e.g., Jojoba or Coconut Oil) (10 oz)
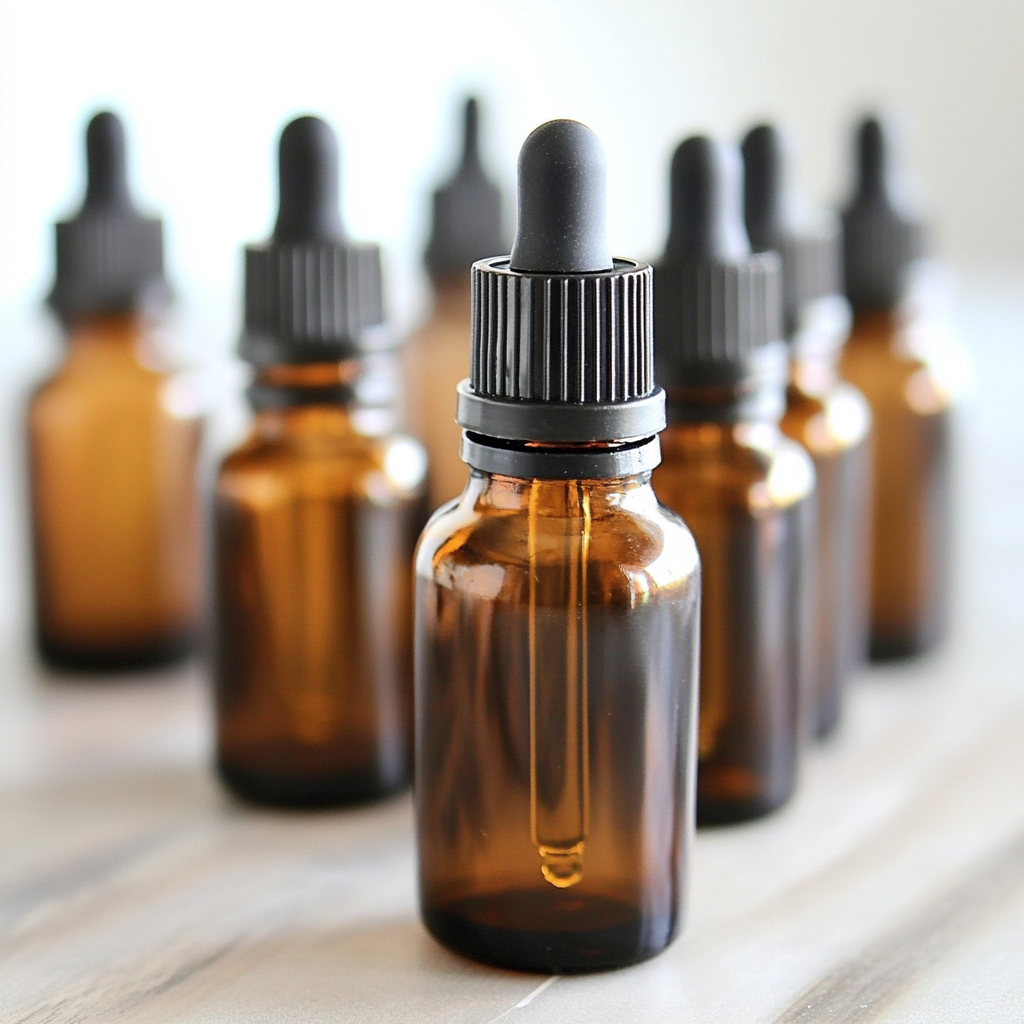
- 10 Dropper Bottles (1 oz each)
Kitchen Utensils and Equipment
- Measuring Spoons: To accurately measure essential oils.
- Mixing Bowl: Small enough to hold the oils (approximately 1 quart).
- Funnel: To easily pour the mixture into dropper bottles.
- Stirring Stick: For mixing the oils together.
Step-by-Step Instructions
- Prepare Your Workspace: Ensure your working area is clean and free from clutter.
- Measure the Oils:
- Measure out 3 drops of tea tree oil, 3 drops of peppermint oil, and 3 drops of eucalyptus oil per bottle using your measuring spoons.
- Combine Ingredients:
- In a small mixing bowl, combine the essential oils measured for one bottle.
- Add 1 oz of carrier oil to the mixture.
- Mix Thoroughly:
- Use a stirring stick to blend the oils together until well combined.
- Transfer to Dropper Bottles:
- Use a funnel to pour the mixture into each dropper bottle.
- Seal and Label:
- Secure the droppers tightly on each bottle. Label them with “Toenail Fungus Treatment Oil” and the date.
Application Tips
- How to Use: Apply a few drops onto a cotton ball and dab on the affected nail. Allow it to dry naturally.
- Frequency: Use twice daily for best results.
- Storage: Keep in a cool, dark place.
Precautions
- Patch Test: Always do a patch test to check for any allergic reactions.
- Avoid Eyes and Mouth: Keep away from sensitive areas and avoid ingestion.
Pros and Cons
Pros:
- Natural antifungal properties
- Easy to make and apply
- Cost-effective solution
Cons:
- May require consistent use for effectiveness
- Not suitable for those with allergies to essential oils
FAQs
1. How long does it take to see results with toenail fungus treatment oil?
Results can vary, but consistent use over several weeks is usually necessary for noticeable improvement.
2. Can I replace the carrier oil with another type?
Yes, you can use any carrier oil that suits your skin, such as almond or olive oil.
3. Is it safe for children to use?
Consult a healthcare provider before using essential oils on children.
4. Can I use only one essential oil?
While tea tree oil is effective alone, the combination enhances the antifungal effect.
5. How should I store the treatment oil?
Store it in a cool, dark place to maintain its potency.
Conclusion
Incorporating essential oils into your routine can offer a natural and effective solution to toenail fungus. By making your own Toenail Fungus Treatment Oil, you take control of the ingredients and ensure a gentle yet powerful remedy. Give your nails the care they deserve with this easy-to-make DIY treatment.