DIY Essential Oil All-Purpose Cleaner
DIY Essential Oil All-Purpose Cleaner: Eco-Friendly Cleaning for a Fresh Home
Introduction
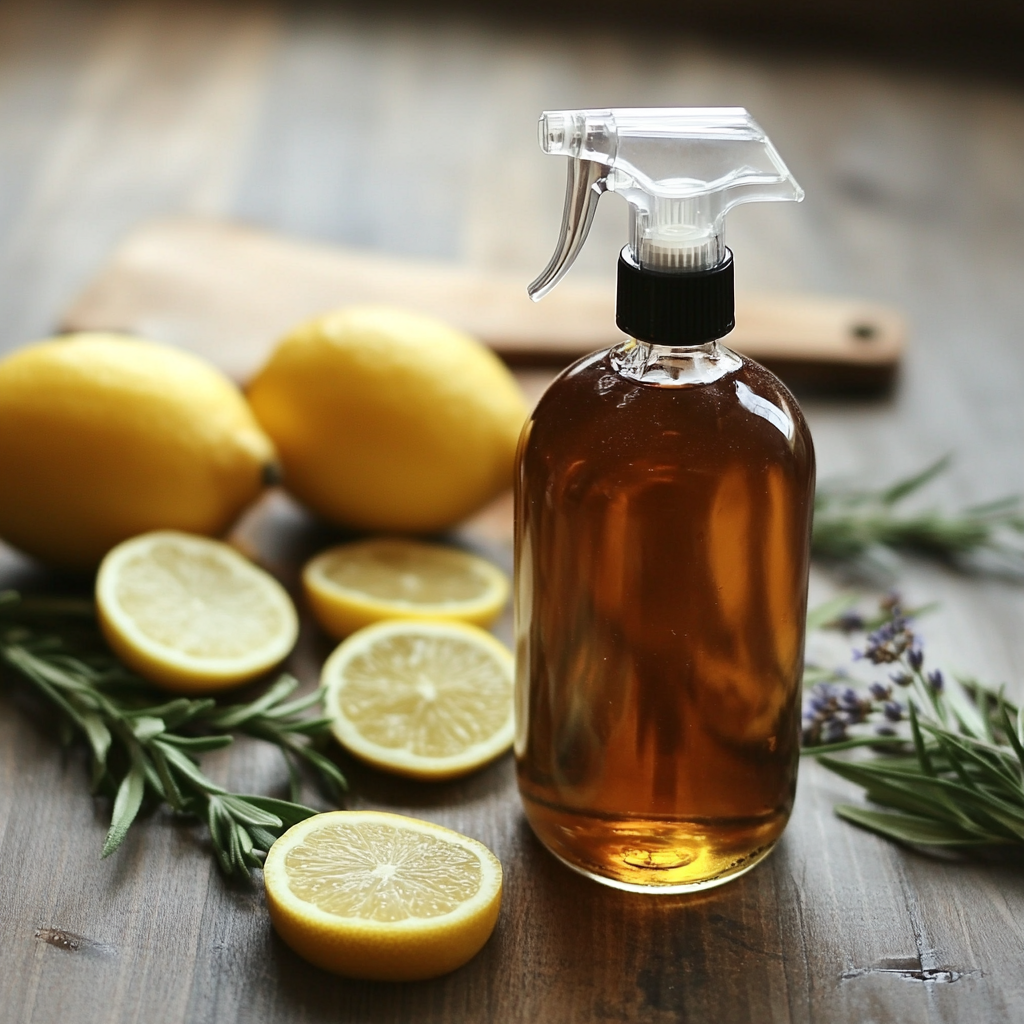
Are you looking to transition to natural, eco-friendly cleaning products? Look no further! This DIY Essential Oil All-Purpose Cleaner is easy to make, effective on various surfaces, and leaves your home smelling fresh and inviting. This step-by-step guide will show you how to create this cleaner right in your kitchen.
What This Recipe is Good For
This all-purpose cleaner is perfect for cleaning countertops, bathroom surfaces, and household appliances. It's a safe, non-toxic alternative to chemical-laden cleaners, with the added bonus of a refreshing aroma from essential oils.
Shopping List: Ingredients You'll Need
- White Vinegar– 2 cups
- Distilled Water – 2 cups
- Liquid Castile Soap – 2 tablespoons
- Tea Tree Essential Oil – 8 drops
- Lemon Essential Oil – 8 drops
- Lavender Essential Oil – 8 drops
- Spray Bottle (32 oz) – 1
Kitchen Utensils You'll Need
- Measuring Cups and Spoons: For accurate measurements of liquids.
- Funnel: To help pour the liquid into your bottle without spilling.
- Mixing Bowl (at least 2-quart size): To mix your ingredients together.
- Whisk: For thorough mixing of your ingredients.
Step-by-Step Instructions
- Prepare Your Workspace: Ensure your kitchen counter is clean and organize all your ingredients and tools.
- Measure and Pour White Vinegar: Use the measuring cup to pour 2 cups of white vinegar into the mixing bowl.
- Add Distilled Water: Measure 2 cups of distilled water and pour into the bowl with vinegar. Mix gently using the whisk.
- Incorporate Liquid Castile Soap: Measure 2 tablespoons of liquid Castile soap and whisk it into the mixture until it's well combined.
- Add Essential Oils:
- Add 8 drops of tea tree essential oil.
- Add 8 drops of lemon essential oil.
- Add 8 drops of lavender essential oil.
- Whisk the mixture again to ensure the oils are well incorporated.
- Transfer to Spray Bottle: Using the funnel, carefully pour the mixture into the spray bottle, leaving a little space at the top for air.
- Label the Bottle: Mark the bottle with ingredients and the date for future reference.
Tips & Precautions
- Test Before Use: Always test the cleaner on a small, hidden area first to ensure no adverse reactions occur.
- Storage Suggestions: Keep the bottle in a cool, dark place to extend the shelf life of your cleaner.
- Safety Measures: Ensure the cleaner is kept out of reach of children and pets. Avoid contact with eyes and skin.
Variations & Options
- Stronger Scent: Increase the number of essential oil drops for a more potent fragrance.
- Alternative Scents: Experiment with eucalyptus or peppermint for different aromas.
- Enhanced Disinfectant Properties: Add a small amount of rubbing alcohol if desired, but test for compatibility on surfaces first.
Pros and Cons
Pros
- Environmentally friendly
- Customizable fragrance
- Cost-effective
Cons
- Not suitable for all surfaces without testing
- May require additional ingredients for tougher stains
Conclusion
Creating a DIY Essential Oil All-Purpose Cleaner is a simple, cost-effective way to maintain a clean, fresh-smelling home without the harsh chemicals found in commercial cleaners. Always remember to test new solutions on small areas and keep your cleaning products safely stored.
FAQs
1. Can I use this cleaner on wooden surfaces?
Always test on a small area first, as some wood finishes may be sensitive to vinegar.
2. How long is the mixture effective?
The cleaner should be effective for several months if stored properly.
3. Can I mix different essential oils?
Yes, you can experiment with different oils to find a scent combination you love.
4. Is it safe around pets?
Yes, but keep in mind that essential oils should be used in moderation around pets.
5. Can I use more Castile soap?
You can, but it may leave a residue. Adjust according to your cleaning needs.