DIY Luxury Deep Nourishing Gel Hand Sanitizer: A Complete Guide
Introduction: Why Make Your Own Nourishing Sanitizer?
Store-bought sanitizers often leave our hands feeling like sandpaper. As a professional formulator, I'll guide you through creating a luxurious, skin-loving sanitizer that both protects and nourishes. This detailed guide ensures success, even if you've never made skincare products before.
Pre-Production Planning
Workspace Setup
- Clear counter space (at least 3 feet square)
- Clean all surfaces with disinfectant
- Lay down clean paper towels
- Ensure good ventilation (open window or fan)
- Keep pets and children away from work area
Safety Equipment Required
- Protective goggles (any splash-proof safety glasses)
- Nitrile gloves (2 pairs)
- Long-sleeved shirt
- Hair tie for long hair
- Closed-toe shoes
- Optional: Face mask
Essential Tools List
- Digital scale (measures in grams and ounces)
- Glass mixing bowl (4-cup capacity)
- Stainless steel whisk
- Glass measuring cups:
- 1-cup measure
- 2-cup measure
- Measuring spoons:
- 1 tablespoon
- 1 teaspoon
- ½ teaspoon
- Small funnel (2-inch opening)
- Glass stirring rod
- Clean cloth towels
- Thermometer (optional but helpful)
Containers Needed
- 4 × 4oz PET plastic bottles (clear)
- Flip-top caps
- Labels for bottles
- Marker for labeling
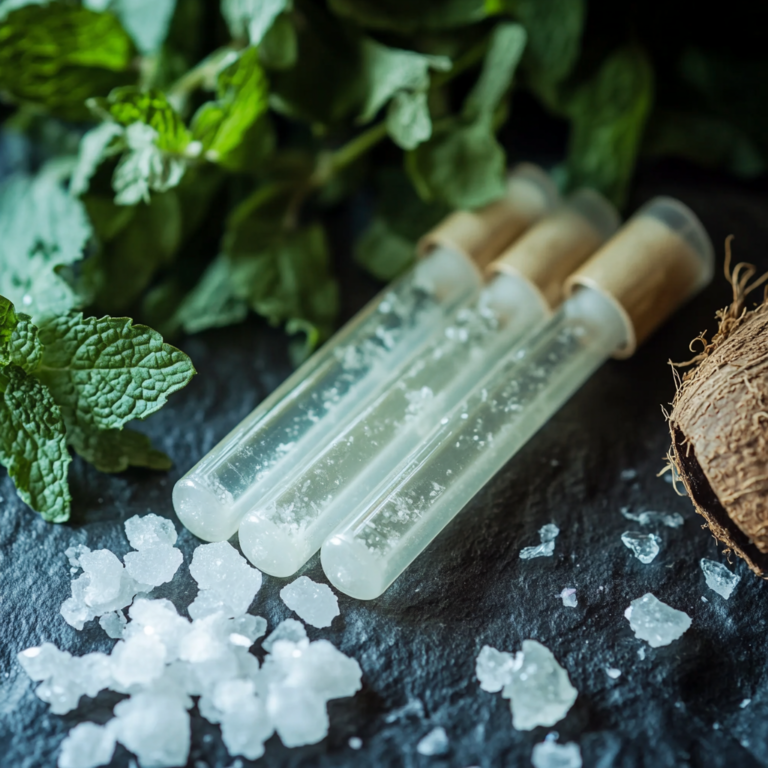
Complete Ingredients Breakdown
Base Components
- 99% Isopropyl Alcohol(1¾ cups)
- Must be exactly 99%
- No substitutions
- Room temperature
- Organic Aloe Vera Gel (½ cup)
- Pure, uncolored
- No added ingredients
- Room temperature
Thickening System
- Carbomer 940 (2 teaspoons)
- Store in airtight container
- Keep away from moisture
- Triethanolamine (1 teaspoon)
- Keep in original container
- Use exact amount
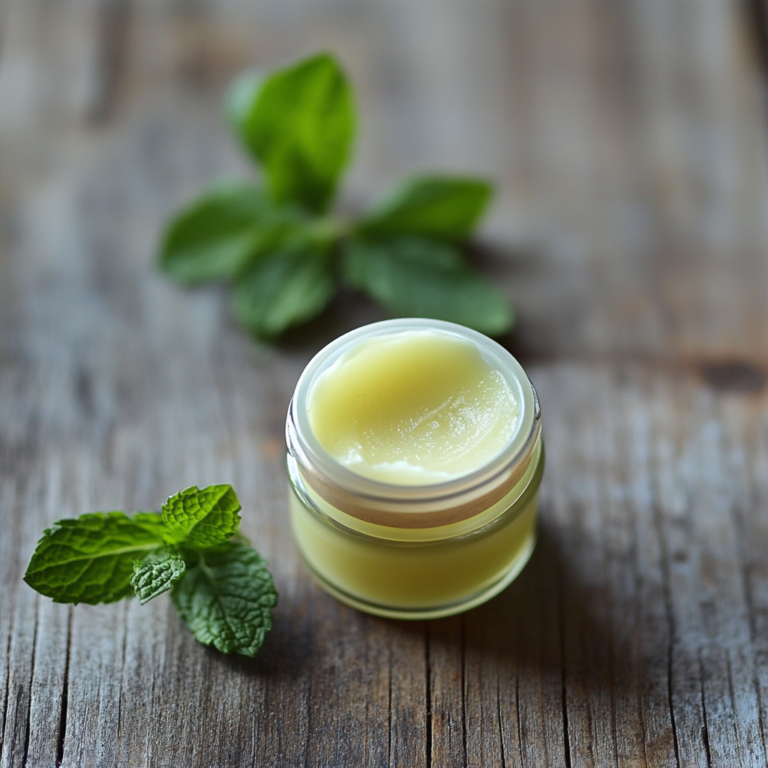
Nourishing Complex
- Vegetable Glycerin (2 tablespoons)
- 100% pure
- Food-grade quality
- Hyaluronic Acid (1 tablespoon)
- Low molecular weight
- Powder form preferred
- Jojoba Oil (1 tablespoon)
- Golden, unrefined
- Cold-pressed
- Vitamin E Oil (1 teaspoon)
- D-alpha tocopherol
- Natural source
Pantothenate, B5(1 teaspoon)
- Powder or liquid form
- Pro-vitamin B5
- Allantoin (½ teaspoon)
- Fine powder
- Cosmetic grade
Essential Oil Blend
- Lavender (30 drops) More information on lavender essential oil
- True lavender (Lavandula angustifolia)
- Therapeutic grade
- German Chamomile (20 drops) More information on German Chamomile Essential Oil
- German chamomile preferred
- Blue color normal
- Helichrysum(15 drops) More information on Helichrysum Essential Oil
- Immortelle variety
- Light yellow color
- Frankincense Serrata (15 drops) More Information on Frankincense Serrata Essential Oil
- Boswellia serrata
- Fresh, clear scent
- Sandalwood Australian (10 drops) More information on Australian Sandalwood
- Australian sandalwood acceptable
- Rich, woody aroma
Detailed Step-by-Step Production Process
Phase 1: Preparation (15 minutes)
- Sanitize Workspace (5 minutes)
- Wipe all surfaces with alcohol
- Clean all tools with hot water
- Dry thoroughly with clean towels
- Lay out paper towels
- Organize Ingredients (5 minutes)
- Group by phase
- Check all measurements
- Verify ingredient quality
- Bring to room temperature
- Safety Setup (5 minutes)
- Put on protective gear
- Secure hair
- Check ventilation
- Have paper towels ready
Phase 2: Base Creation (10 minutes)
- Measure Alcohol (3 minutes)
- Use glass measuring cup
- Pour exactly 1¾ cups
- Keep away from flames
- Note temperature
- Add Aloe Vera (2 minutes)
- Measure ½ cup exactly
- Add to alcohol slowly
- Stir gently
- Avoid creating bubbles
- Initial Mixing (5 minutes)
- Use glass stirring rod
- Mix in one direction
- Ensure complete blending
- Check for clarity
Phase 3: Thickening Process (15 minutes)
- Add Carbomer (5 minutes)
- Sprinkle slowly over surface
- Do not dump all at once
- Use sifter if available
- Avoid clumps
- Initial Whisking (5 minutes)
- Whisk gently at first
- Increase speed gradually
- Watch for thickening
- Maintain consistent motion
- TEA Addition (5 minutes)
- Add dropwise
- Whisk continuously
- Watch for gel formation
- Check consistency
Phase 4: Nourishing Complex Integration (20 minutes)
- Add Glycerin (3 minutes)
- Pour slowly while stirring
- Ensure full incorporation
- Check thickness
- Note any changes
- Hyaluronic Acid Addition (5 minutes)
- Sprinkle slowly
- Whisk thoroughly
- Allow to hydrate
- Check for clumps
- Oil Phase Addition (7 minutes)
- Add jojoba oil slowly
- Mix thoroughly
- Add vitamin E
- Ensure complete blending
- Final Additions (5 minutes)
- Add panthenol
- Incorporate allantoin
- Mix gently
- Check consistency
Phase 5: Essential Oil Integration (15 minutes)
- Primary Oils (5 minutes)
- Add lavender first
- Follow with chamomile
- Count drops carefully
- Mix between each
- Secondary Oils (5 minutes)
- Add helichrysum
- Follow with frankincense
- Mix gently
- Note aroma development
- Final Oil (5 minutes)
- Add sandalwood last
- Mix thoroughly
- Allow blend to marry
- Check final scent
Phase 6: Quality Control (10 minutes)
- Consistency Check (3 minutes)
- Check thickness
- Test gel structure
- Verify smoothness
- Note any separation
- Aroma Verification (2 minutes)
- Check scent balance
- Ensure pleasant aroma
- Note any changes
- Allow to settle
- Visual Inspection (5 minutes)
- Check clarity
- Look for particles
- Verify color
- Note any issues
Phase 7: Bottling Process (15 minutes)
- Bottle Preparation (5 minutes)
- Clean bottles thoroughly
- Dry completely
- Check caps
- Prepare labels
- Filling Process (5 minutes)
- Use funnel
- Fill to shoulder
- Avoid spills
- Clean bottle necks
- Final Steps (5 minutes)
- Cap tightly
- Apply labels
- Record date
- Note batch number
Storage and Usage Guidelines
Proper Storage
- Keep below 75°F (24°C)
- Store away from sunlight
- Avoid bathroom storage
- Check weekly for changes
Usage Instructions
- Amount: Quarter-size portion
- Application: Rub thoroughly
- Duration: Until completely dry
- Frequency: As needed
Troubleshooting Common Issues
- Too Thick
- Add alcohol gradually
- Remix thoroughly
- Check temperature
- Verify measurements
- Too Thin
- Check Carbomer amount
- Verify TEA ratio
- Review mixing process
- Consider temperature
- Separation
- Remix gently
- Check ingredient quality
- Verify measurements
- Monitor storage conditions
Pro Tips for Success
- Temperature Control
- Work at room temperature
- Monitor ingredient temps
- Store properly
- Check regularly
- Quality Assurance
- Use fresh ingredients
- Check expiration dates
- Verify measurements
- Document process
- Consistency Checks
- Test frequently
- Note any changes
- Adjust as needed
- Keep records
FAQs
- Can I substitute ingredients?
- No, follow recipe exactly
- How long does it last?
- 6 months properly stored
- Is it travel-safe?
- Yes, in proper containers
- Can I adjust the scent?
- Yes, maintaining total drops
- How much does it make?
- Two 8oz bottles exactly
Conclusion
This detailed guide ensures success in creating a professional-grade nourishing hand sanitizer. Following these steps precisely will result in a luxurious, effective product that both sanitizes and nourishes your skin.
SEO Focus Keywords:
DIY gel hand sanitizer, Nourishing sanitizer recipe, Professional sanitizer guide
Tags: Hand Sanitizer DIY, Skin Care, Natural Products, DIY Beauty, Hand Care, Essential Oils, Natural Sanitizer, Skin Protection, DIY Skincare Recipe, Nourishing Formula