DIY Essential Oil Recipe for Clear, Calm Skin
What Is This Recipe Good For?
If you’ve ever had a breakout right before an important day, you know how stressful and uncomfortable acne can be. This gentle, natural recipe is designed to:
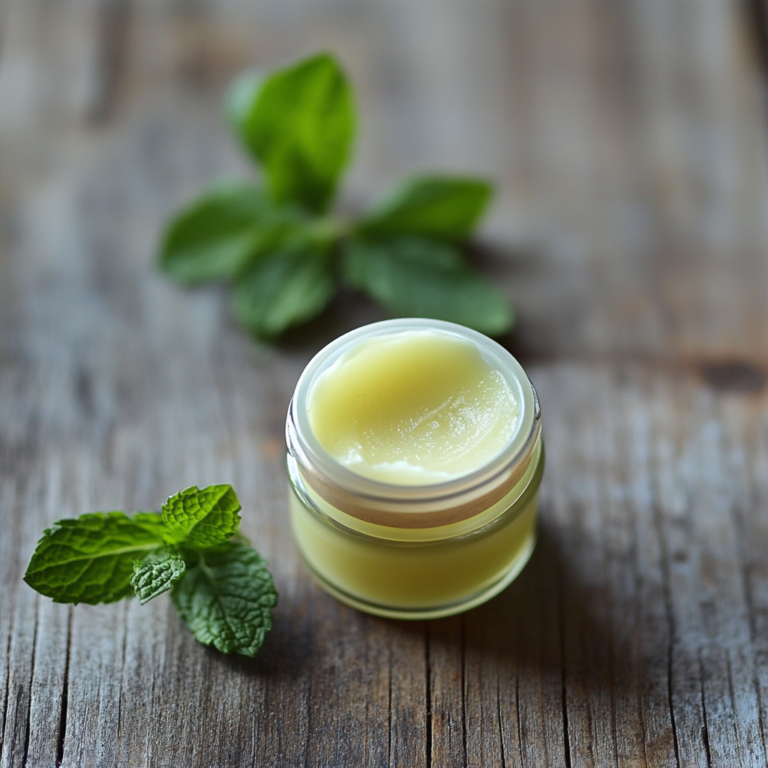
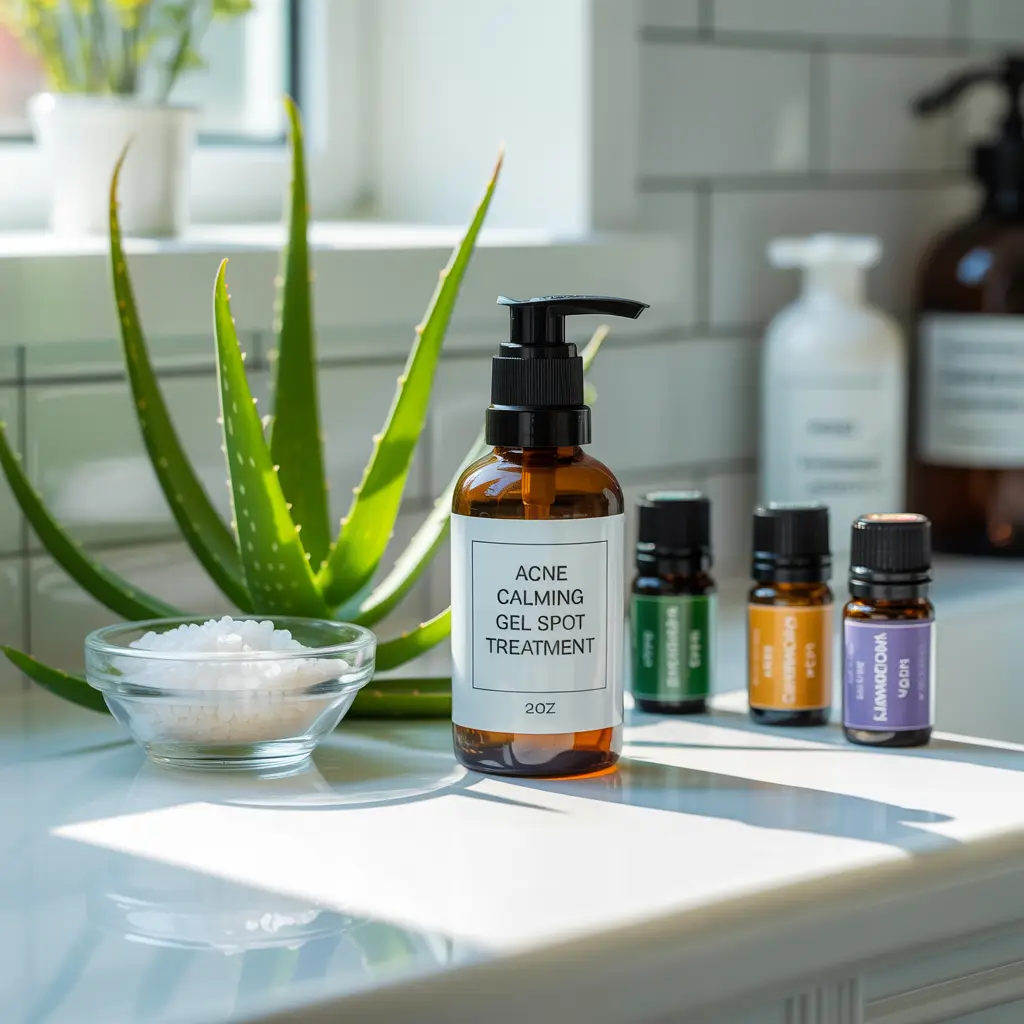
Our Acne Calming Gel Spot Treatment is perfect for anyone looking to manage breakouts effectively.
- Instantly soothe redness and irritation from acne spots
- Fight acne-causing bacteria using tea tree and lavender oils and our Acne Calming Gel Spot Treatment.
- Speed up healing and prevent scarring
- Moisturize and calm the skin without clogging pores
- Leave your skin feeling fresh, clean, and confident
Shopping List: Everything You Need – No Ingredients at Home!
You are starting from scratch, so here’s the complete list for one 2-ounce pump bottle (double for a family if you wish):
Ingredients (for 1 x 2oz bottle)
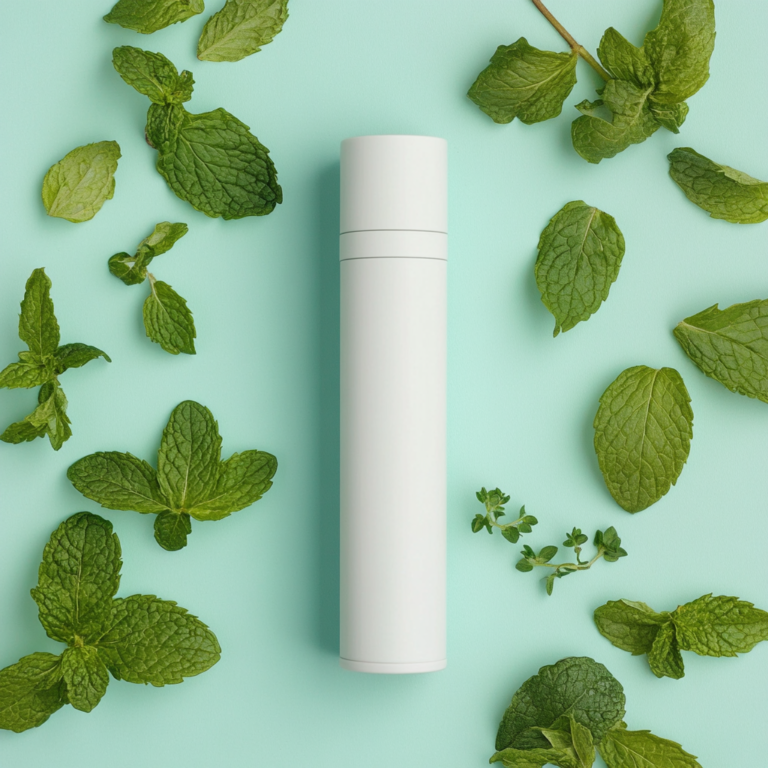
- 1 x 2 oz amber glass or BPA-free plastic pump bottle (must be airtight and sterilizable)
- 2 tablespoons aloe vera gel (pure, no added color or fragrance)
- 1 tablespoon witch hazel (alcohol-free for sensitive skin)
- 1 teaspoon vegetable glycerin (helps lock in moisture and keep gel smooth)
- 8 drops tea tree essential oil (antibacterial, acne-fighting)
- 6 drops lavender essential oil (calming, reduces redness)
With the Acne Calming Gel Spot Treatment, you can achieve clearer skin effortlessly.
- 2 drops German chamomile essential oil (extra calming, anti-inflammatory; optional but recommended)
- 2 dropsfrankincense essential oil (healing, scar prevention; optional)
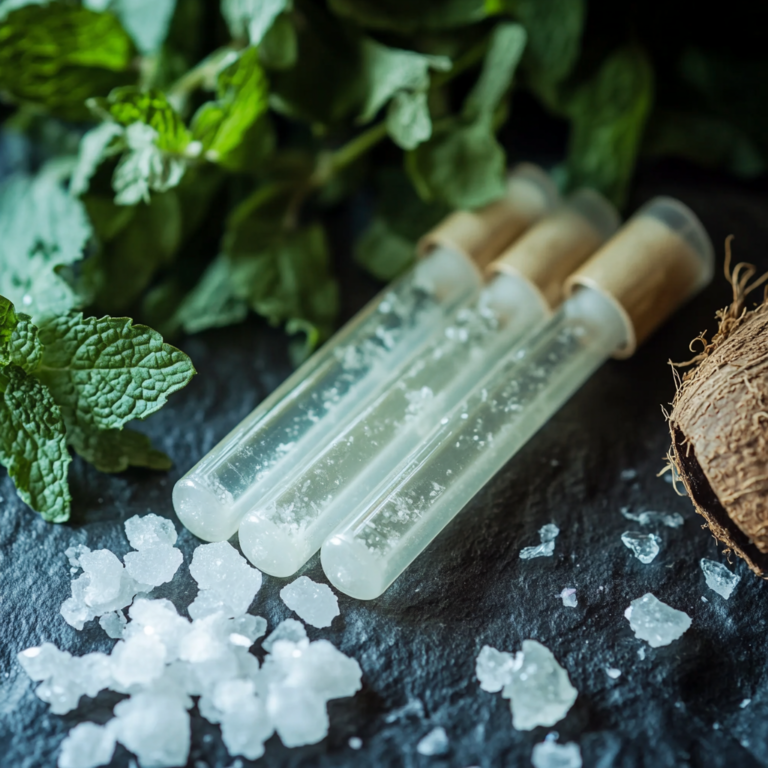
- 1 pinch menthol crystals (for stronger cooling effect and deeper skin penetration; optional)
- Distilled water (if you need to adjust the texture)
Utensils & Tools
- 1 small glass mixing bowl (about 2-3 cups size)
- 1 small whisk or fork for mixing (looks like a tiny metal brush with bent wires)
- 1 small funnel (for easy pouring into bottle; a funnel is cone-shaped and helps pour without spilling)
- 1 set of measuring spoons (tablespoon, teaspoon, and pinch size – looks like small scoops attached to a ring)
- 1 clean dropper (for essential oils)
- 1 clean spatula or butter knife (flat, blunt, and safe for scraping the mixing bowl)
- 1 paper towel or clean cloth for clean-up
- 1 label sticker & pen (so you know what’s in your bottle)
Why Each Ingredient is Great for Your Skin
- Aloe Vera Gel: Soothes, reduces redness, hydrates, and heals irritated skin.
- Witch Hazel: Tightens pores, reduces inflammation, and calms breakouts.
- Vegetable Glycerin: Locks in moisture without clogging pores.
- Tea Tree Essential Oil: Powerful natural antibacterial to fight acne.
- Lavender Essential Oil: Reduces redness, soothes irritation, and helps skin relax.
- German Chamomile Essential Oil: Deeply calming and supports healing.
- Frankincense Essential Oil: Supports skin healing and may prevent post-acne marks.
- Menthol Crystals: Adds a gentle cooling effect and helps open pores.
Step-by-Step Instructions (So Easy a 10-Year-Old Can Do It!)
Step 1: Prepare Your Area
- Find a clean kitchen counter or table.
- Lay out a paper towel to keep everything clean.
- Wash your hands with soap and water for 20 seconds.
Step 2: Set Up Your Tools
- Put your glass mixing bowl on the towel.
- Place all your measured ingredients, measuring spoons, and whisk next to you.
Step 3: Measure and Add the Aloe Vera Gel
- Use your tablespoon (the largest measuring spoon) and scoop 2 tablespoons of aloe vera gel into your bowl.
Step 4: Add Witch Hazel
- Use the tablespoon again and measure 1 tablespoon of witch hazel. Pour it into your mixing bowl.
Step 5: Add Glycerin
- Use your teaspoon (the medium-sized measuring spoon). Take 1 teaspoon of vegetable glycerin and add it to the bowl.
Step 6: Optional – Add Menthol Crystals
- Pinch a small amount of menthol crystals (about the size of a pea) and sprinkle into the bowl. (Wash hands after touching crystals, they are very strong!)
Step 7: Mix the Gel Base
- Use your whisk or fork and gently stir the aloe, witch hazel, glycerin, and menthol together for about 20 seconds. If you see lumps, stir slowly until smooth.
Step 8: Add the Essential Oils
- Carefully count drops using a dropper:
- 8 drops tea tree oil
- 6 drops lavender oil
- 2 drops German chamomile oil
- 2 drops frankincense oil
Step 9: Blend Everything Together
- Stir the mixture well with your whisk or fork for 1 minute. Scrape the sides with your spatula or butter knife if needed. Your gel should be smooth and lightly scented.
Step 10: Adjust Texture (Optional)
- If your gel is too thick, add ½ teaspoon distilled water and stir again. If too thin, add a tiny bit more aloe vera gel.
Step 11: Fill Your Bottle
- Place the funnel in your 2 oz pump bottle.
- Pour the finished gel into the funnel slowly.
- Tap the bottle gently on the counter to let the gel settle.
- Remove the funnel and screw the pump top on tightly.
Step 12: Clean Up and Label
- Wipe the outside of the bottle with a clean cloth.
- Write “Acne Calming Gel Spot Treatment – Made on [Date]” on your label.
- Stick the label on your bottle.
Step 13: How to Use
- When you get a pimple, wash your face with a gentle cleanser.
- Pump a tiny dot of gel onto your clean finger.
- Dab gently onto the acne spot, not rubbing it in.
- Allow it to dry before applying moisturizer or makeup.
Variations & Options
- Sensitive skin? Skip menthol crystals and use only lavender and chamomile oils.
- Oilier skin? Add an extra ½ teaspoon witch hazel.
- For extra healing, add 1 drop rosemary essential oil.
Tips & Secrets from a Pro
- Always use clean hands and tools – never dip dirty fingers!
- Store the bottle in a cool, dark place.
- Do a patch test on the inside of your wrist first, especially if you’ve never used essential oils before.
- If you have leftover gel, keep it in the fridge for a cooling effect.
How to Store
- The best container is a 2 oz amber glass pump bottle, which protects the gel from sunlight and bacteria.
- Keep the bottle sealed tight.
- Shelf life: 2-3 months (as long as it smells fresh and looks the same).
Pro & Cons
Pros:
- All-natural, gentle, and non-toxic
- Works fast to calm and heal breakouts
- Moisturizes without clogging pores
- Easy to make and customize
Cons:
- Not a full replacement for prescription acne medication in severe cases
- Must avoid eyes and mucous membranes
- Must use fresh, high-quality ingredients each time
Fun Facts About This Recipe
- Aloe vera gel has been used for over 2,000 years as a healing plant!
- Tea tree oil is a natural alternative to harsh chemical spot treatments.
- You can make mini-bottles for friends as gifts!
Helpful Information Table
| Ingredient | Amount | Benefit | Where to Find |
|---|---|---|---|
| Aloe Vera Gel | 2 tbsp | Soothes & hydrates | Pharmacy, Health Store |
| Witch Hazel | 1 tbsp | Tightens pores, calms inflammation | Pharmacy, Health Store |
| Vegetable Glycerin | 1 tsp | Moisturizes, helps skin feel soft | Pharmacy, Grocery |
| Tea Tree Essential Oil | 8 drops | Fights acne-causing bacteria | Health Store, Online |
| Lavender Essential Oil | 6 drops | Reduces redness & irritation | Health Store, Online |
| German Chamomile Oil | 2 drops (optional) | Strongly calming, reduces redness | Health Store, Online |
| Frankincense Oil | 2 drops (optional) | Heals skin, prevents scarring | Health Store, Online |
| Menthol Crystals | Pinch (optional) | Cooling & antibacterial | Online |
| 2oz Pump Bottle | 1 | Keeps gel fresh, easy to use | Health Store, Online |
FAQs
1. Can I use this gel every day?
Yes! Apply up to twice a day on acne spots, but don’t overdo it to avoid irritation.
2. Is it safe for kids or teens?
Yes, as long as you do a patch test and avoid eyes. Always use essential oils carefully with young children.
3. Can I use this under makeup?
Yes, let it dry fully before applying makeup.
4. What if I have sensitive skin?
Reduce or skip tea tree oil and menthol crystals, and use more lavender and chamomile oil.
5. How long does it take to work?
Redness should calm within 1–2 hours, and pimples usually shrink in 1–3 days.
Conclusion
Making your own Acne Calming Gel Spot Treatment is easy, fun, and safe—even for total beginners! This gentle recipe harnesses the power of aloe vera, witch hazel, and essential oils to soothe, heal, and protect your skin. Remember, using clean tools and fresh ingredients ensures you get the best results. With a few simple steps, you’ll have a professional-quality acne spot gel right at home. For severe or persistent acne, always consult a dermatologist.
SEO Meta Description
Discover the ultimate DIY Acne Calming Gel Spot Treatment recipe using aloe vera, witch hazel, and essential oils. Step-by-step, beginner-friendly guide for clear, healthy skin!